|
|||||||||||||||||
|
Before we start, you'll need some Mars data. We'll use a MOLA dataset of approximately the same level as Earth GTOPO30 data, though much less time consuming to import. MOLA stands for Mars Orbiter Laser Altimeter and the data represents a topographic map of Mars at a resolution of 0.0625° by 0.0625° based on altimetry data acquired by the Mars Global Surveyor MOLA instrument. Site: ftp://ltpftp.gsfc.nasa.gov/pub/projects/tharsis/MOLA/GRIDS/ 1. Create a new Coordinate System. The WCS Back-compatible Sphere will work just fine. You could also do this during the Import Wizard process, but we're trying to get into good habits here and think VNS (for those of us who also speak WCS).  2. Coordinate System Ellipsoid page. Change the Semi-major and Semi-minor Axis to 3396 km. The radii are given in the ieg0062t.lbl file. A_AXIS_RADIUS = 3396.0 <KM>  3. Now for the Import Wizard. The ieg0062t.img should be correctly identified as a binary file in the first window.  4. Import Wizard LOAD AS window. No change.  5. Import Wizard OUTPUT FILE TYPE AND NAME window. No change.  6. Import Wizard COORDINATE SYSTEM SUMMARY window. No change.  7. Import Wizard BINARY INPUT SETTINGS window. Following the SAMPLE_BITS and SAMPLE_TYPE information in the ieg0062t.lbl file, select Value Bytes of Two (16 bits=2 bytes) and Byte Order of High-Low/Motorola/Big. SAMPLE_TYPE = MSB_INTEGER  8. Import Wizard INPUT COLUMNS, ROWS, AND HEADER window. Following the LINE_SAMPLES and LINES information in the ieg0062t.lbl file, use the dropdown box to select 5760 x 2880. LINES = 2880 Rows  9. Import Wizard REFERENCE COORDINATES window. Following the POSITIVE_LONGITUDE_DIRECTION information in the ieg0062t.lbl file, make X (Lon) + to East. POSITIVE_LONGITUDE_DIRECTION = "EAST"  10. Import Wizard HORIZONTAL EXTENTS window. The latitude and longitude extents are included in the ieg0062t.lbl file. These values are the outside extents of the data, the column and row edges, if you will. VNS thinks in terms of cell centers, so we'll use a West Lon of 0° and an East Lon of 359°. North Lat is 90° and South Lat is 90°. MAXIMUM_LATITUDE = 90.0 <DEGREE> 
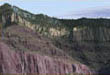
11. Import Wizard PRE-PROCESSOR SETTINGS window. No change.  12. Import Wizard NULL DATA window. No change.  13. Import Wizard VERTICAL EXTENTS window. Elev Units should default to Meters, which is what we want. Enter the MINIMUM and MAXIMUM values in the ieg0062t.lbl file into the Low Elev and High Elev boxes, respectively. UNIT = METER  14. Import Wizard OUTPUT DEMS window. No change.  15. It shouldn't take VNS long to import the data. Open the Planimetric Camera. Don't be alarmed! Planet data often looks odd in this view. If you run a Preview Render with the default Ground Effect you'll get a better look at the Red (Gray?) Planet.  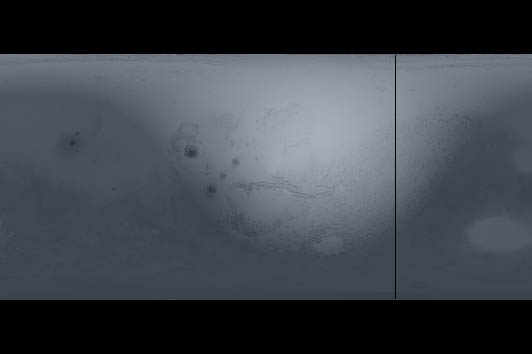
16. The nice folks at NASA have made it easy to texture Mars. You'll find the 7.4 Mb color.jpg in the same directory as the rest of the MOLA data. 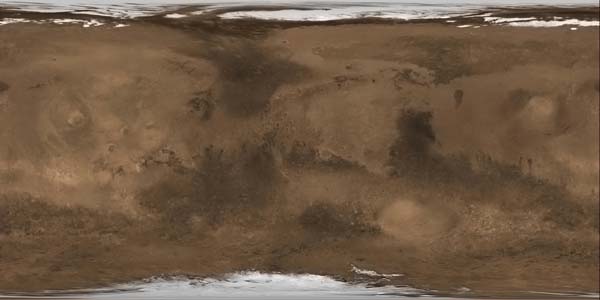 17. To make your VNS life easier, copy the image into your WCS>Components>Image>Color Map folder and rename it MarsMap.jpg. Create a new Color Map and add the MarsMap.jpg.  18. We need to position the Color
Map on Mars, so select Edit Image Object to open the Image Object Library. The MarsMap.jpg will be the
active item; click the Add Geo Reference Attribute button
19. Make another Preview Render of your planimetric camera. VNS' default Haze is tinting the image map and making shadowed portions visible.  20. Disable Atmospheres and make another Preview Render of your planimetric camera.  21. Disable Skies, add a Starfield, and open your default perspective Camera view for a Preview Render. 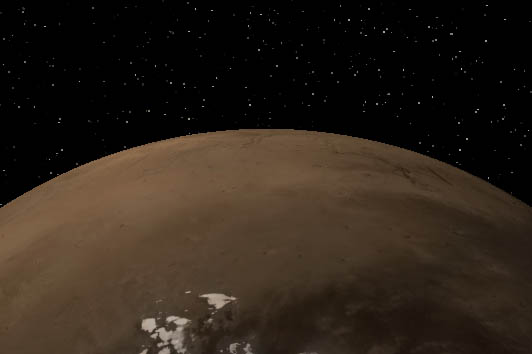 22. If you want a better look at the topography, open the Planet Options Editor and increase the Vertical Scale to 2000%.  23. Another Preview Render will show a bit more relief. 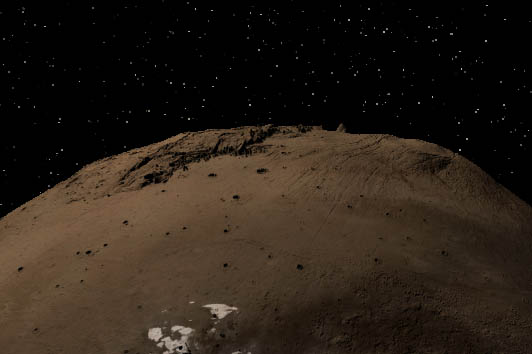 24. Here's a Preview Render of the default Overhead Camera with the same vertical exaggeration. 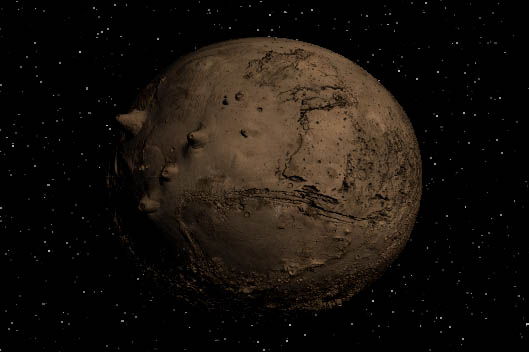 25. That's more comical than awe inspiring. Let's return the Vertical Scale to 100%. 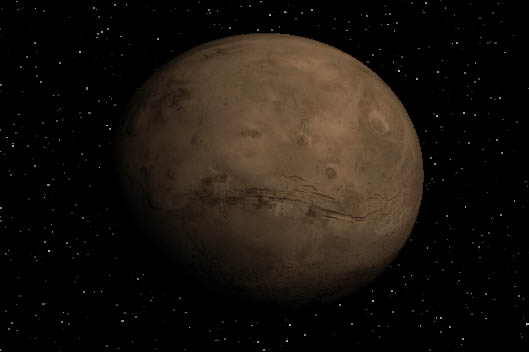 26. Here are some other suggestions from Frank for would-be Mars MOLA explorers. » Work with a low resolution stand-in dataset first. The dataset in this tutorial is large enough to see some detail but not so big as to totally bog down your machine. Once cameras are positioned and animations set up, you can import a higher resolution dataset. » Set up camera positions with unnecessary OpenGL views closed. This will speed up redraws and may prevent the OpenGL crashes that sometimes come with huge datasets. » You may need to turn on Render Beyond Horizon for perspective cameras. |